Self-Study 2 - Now We're Movin'
Too Much Yappin'
Following the last two devlogs, I have since been informed by my "proofreader" (read: older sibling that I coerced into reading my work) that I have been "needlessly wordy to the detriment of the reader". In short, I've been doing far too much yappin'. As such, the devlogs going forward will (hopefully) considerably shorter than previous entries.
Nonetheless, on today's episode of "p̸̨̑̋ǎ̵͐̏ͅȋ̵̤̳͜ň̶̻̬͐̚ ̷̘̻̔͝a̷̺͊̎͑ň̴͚̙̞́d̶̪̞͌ ̷̟͂͂͗s̶̢̱̜͝û̴̹̼f̷͕̩̻̽̒̆f̷̪̂e̶̦̾r̴͎͙̆̄į̵̠̕n̷̞͉̈g̸̬̋", I will be working on creating animations in Blender.
Makin' the Man
First things first, we need a... test subject to build animations for. To that end...
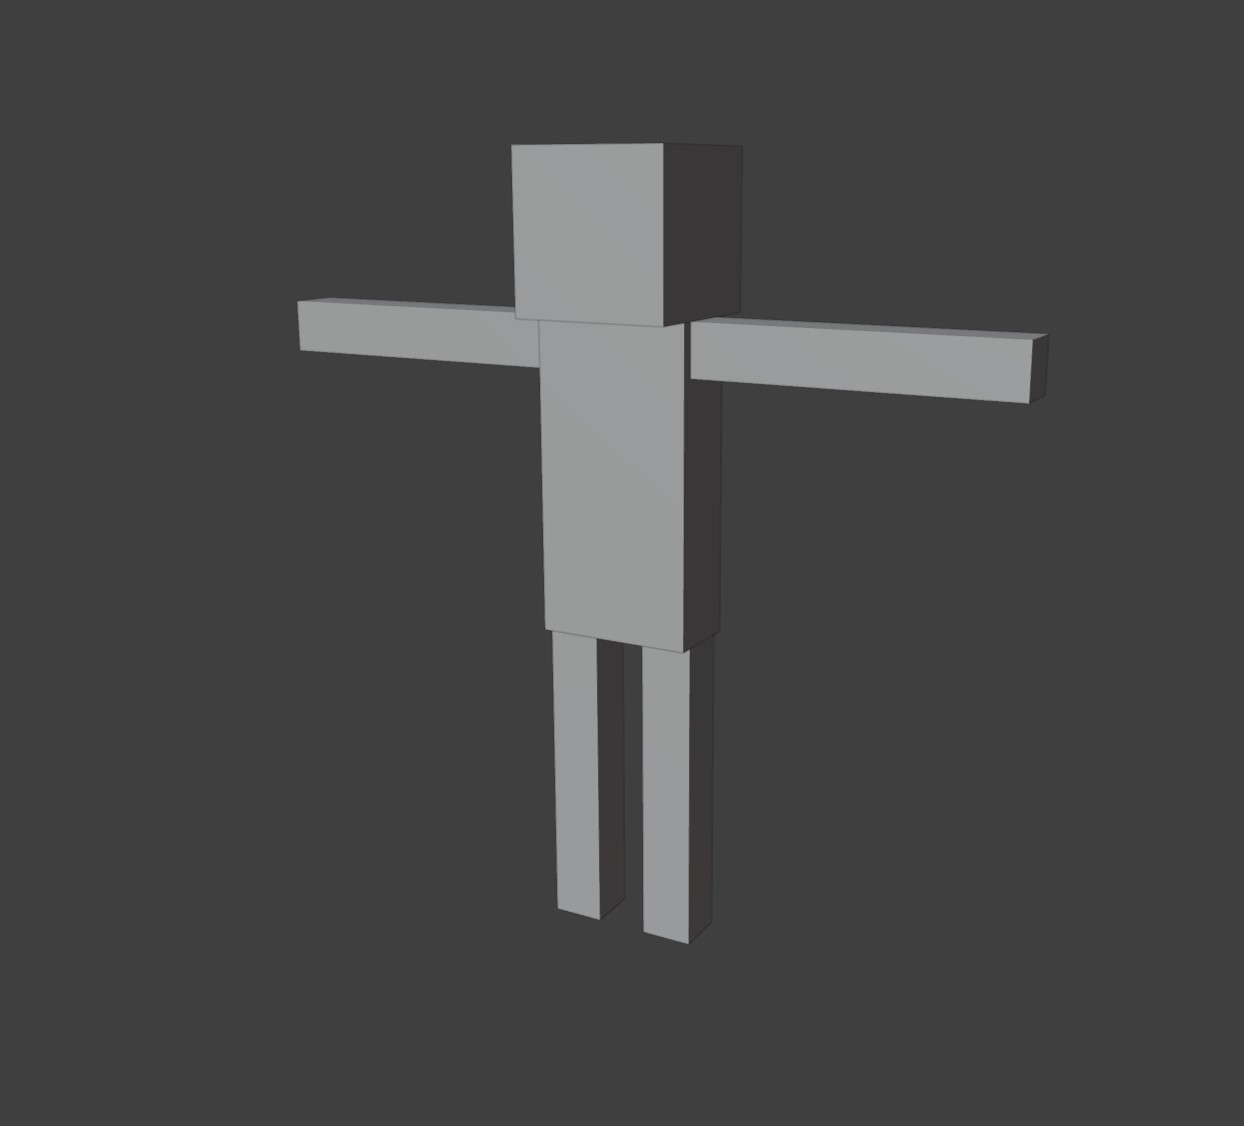
Fig. 1 - 'Tis He!
Meet 'Man', our (not-so) willing participant. He's made up of separate pieces for each limb, plus the torso and head, with internal faces removed (this will be important later) and all the pieces joined into a single mesh (using Ctrl+J). This particular screenshot was taken before any texturing was done, but later texturing was done via a particularly scuffed UV Map.
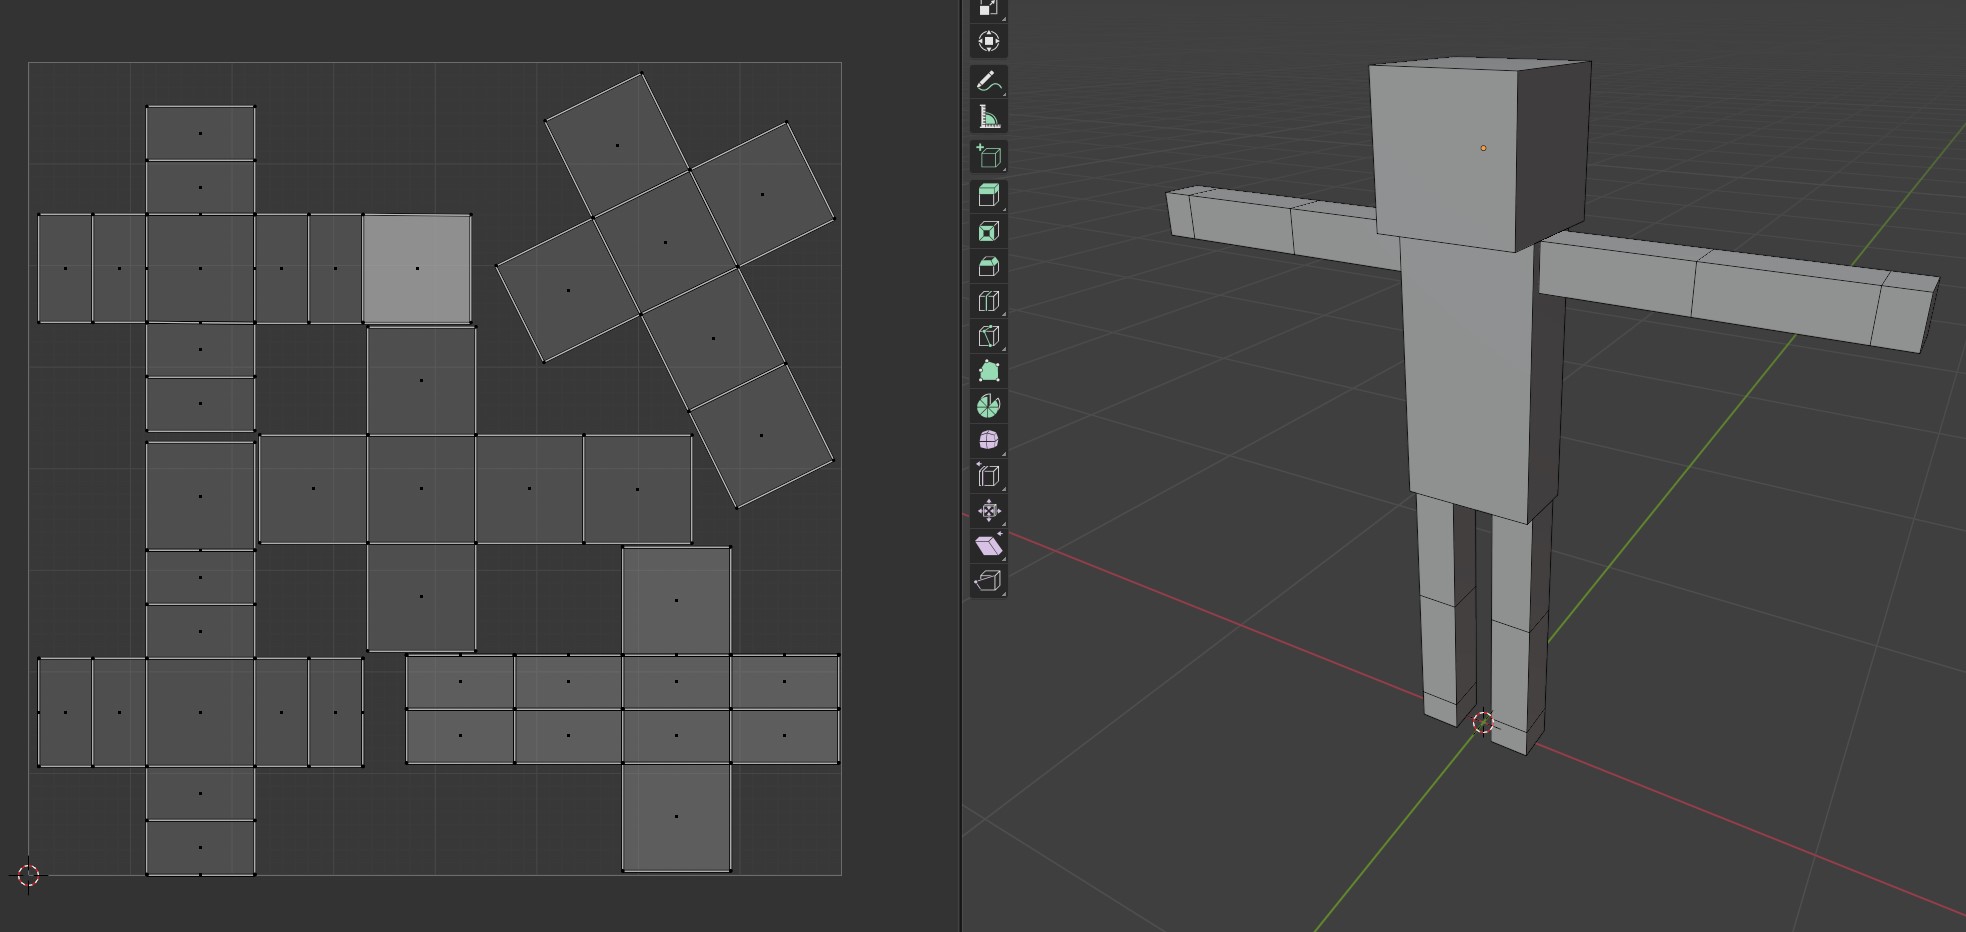
Fig. 2 - Just a little wonky...
Now that we have something to animate, we next need to add the infrastructure needed to animate it. This means adding an Armature to the model. This involves creating a new Armature through the 'Add' menu and parenting the the Armature to the model.
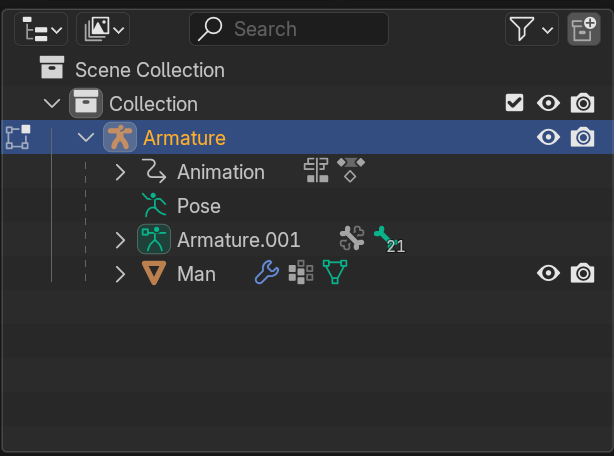
Fig. 3 -Man Parented to Armature
After everything is parented, its simply a matter of reshaping and extruding the Armature's bones to fit the expected movement from the model.
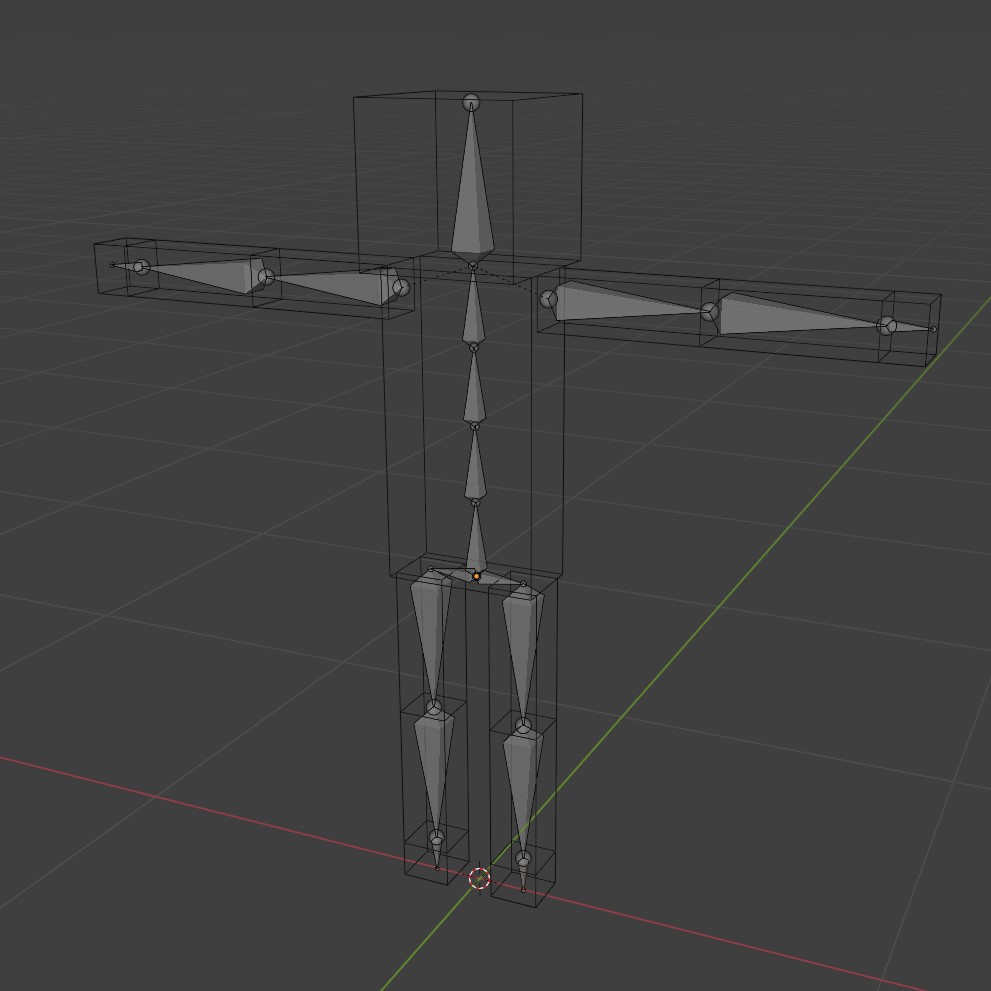
Fig. 4 - Man is no longer Spine-(or other bone)-less!
Time to Move It, Move It
At last, it's now finally time to animate!
First, we need to switch to the "Animation" tab within blender. This will give us access to a number of windows relevant to animating in Blender, the most important of which is the Action Editor (at the bottom of the window), which will let me start creating individual animations and setting Keyframes. Keyframes indicate a fixed point within the animation is in a specific position and pose, and by chaining these keyframes together, the model will cycle through the keyframes to make the character move (citation needed).
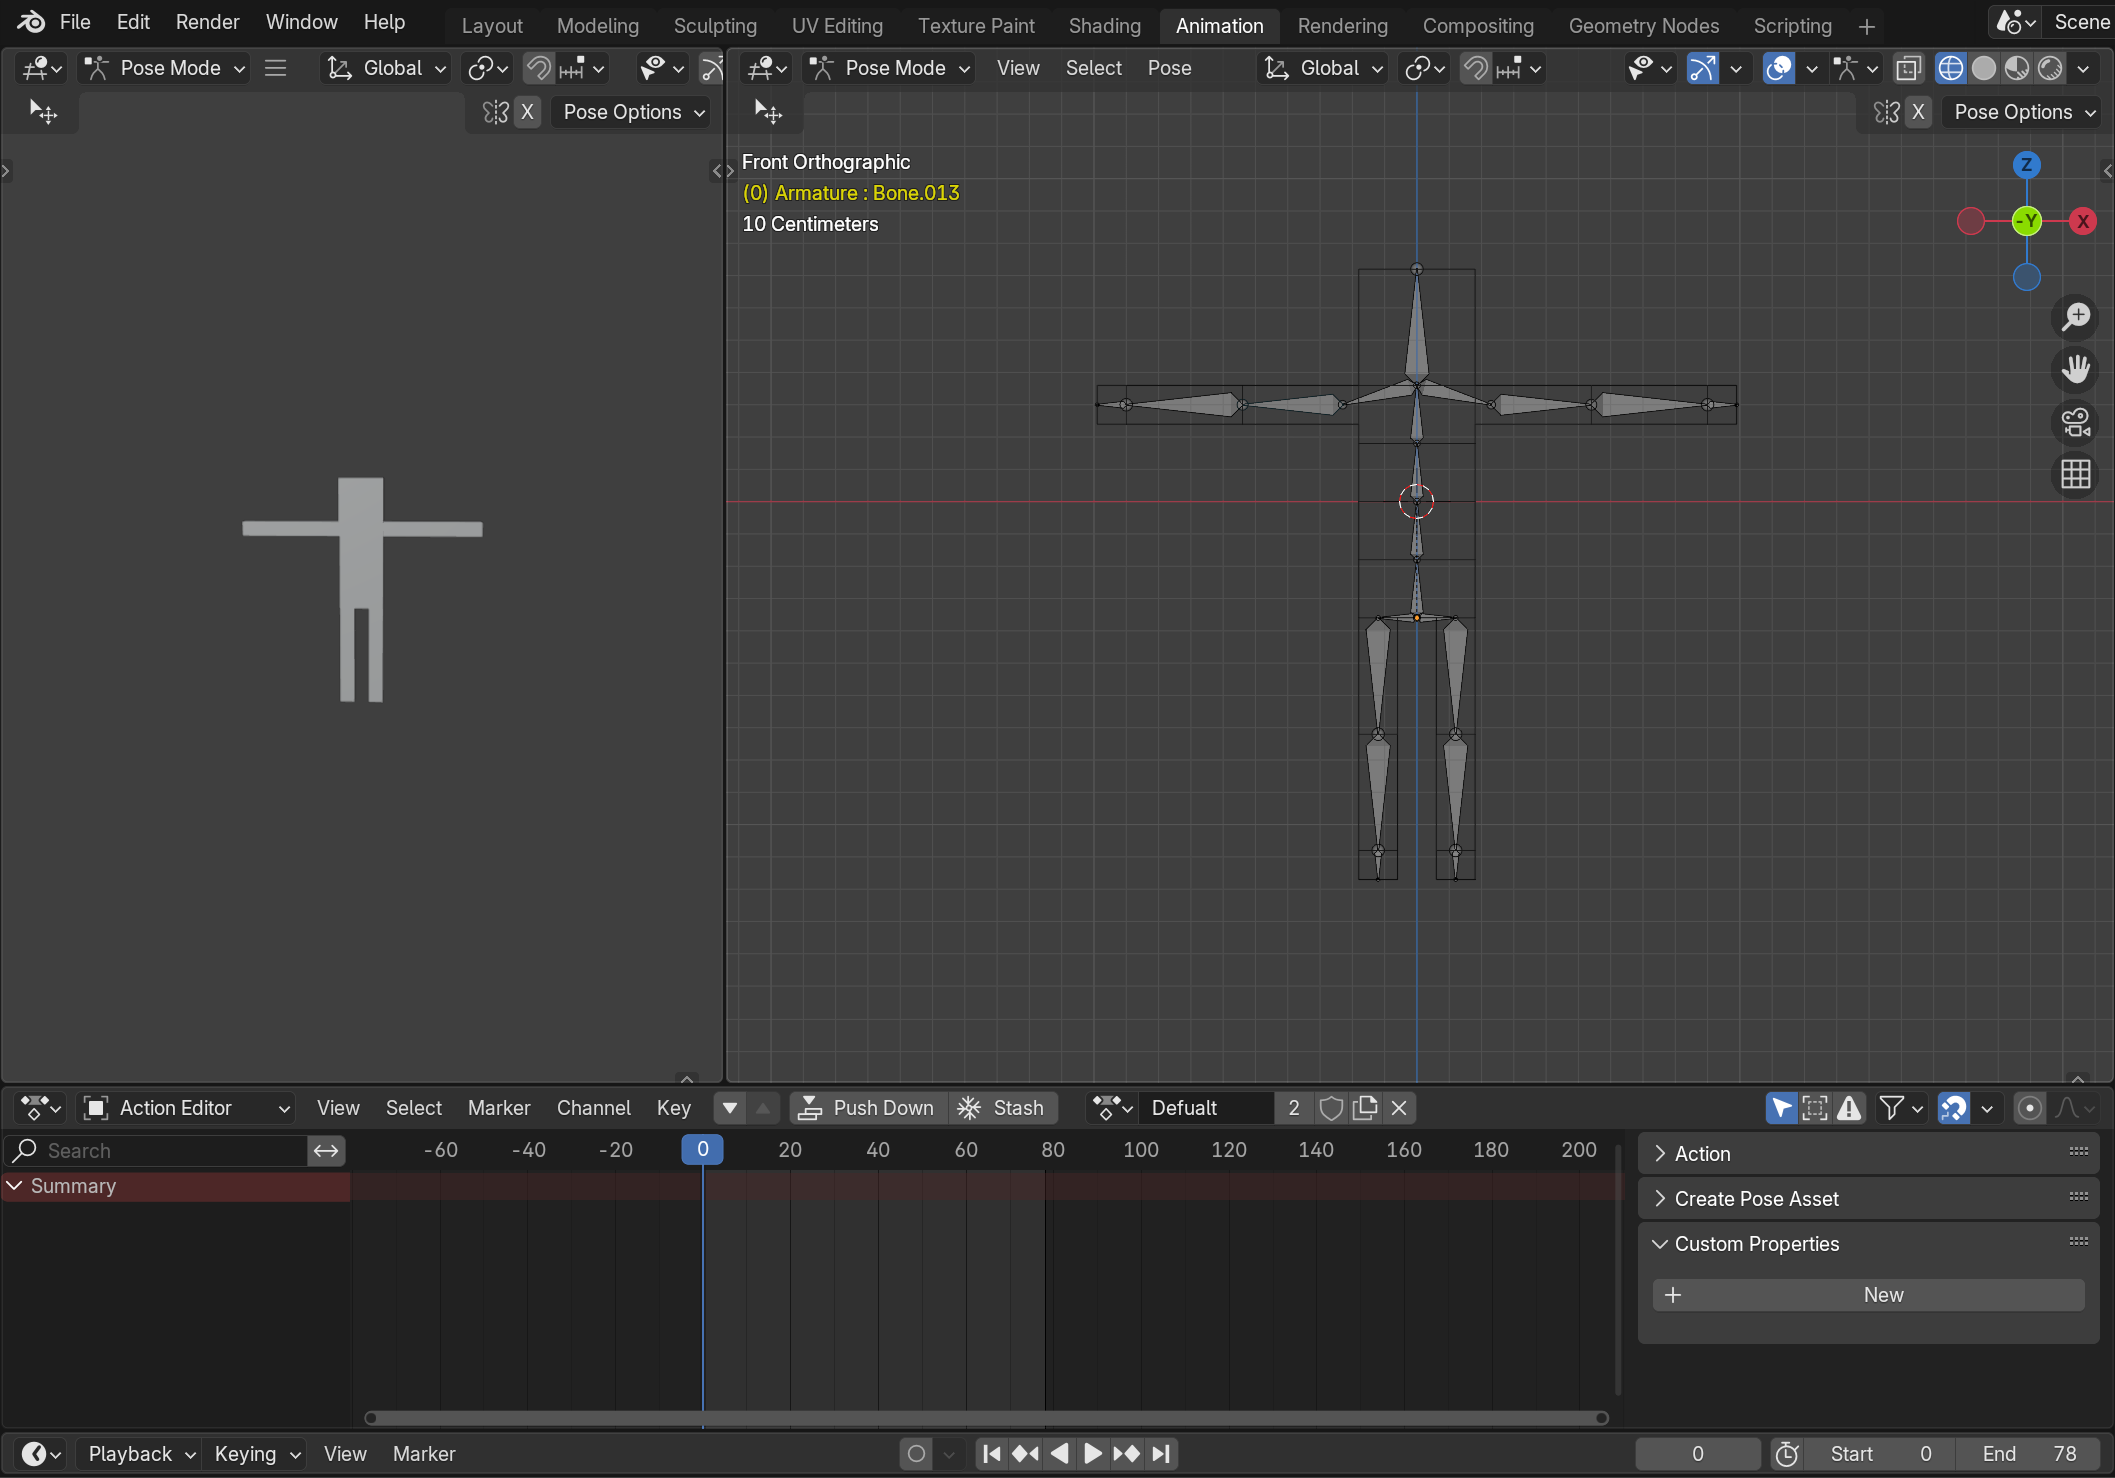
Fig. 5 - The Animation Tab
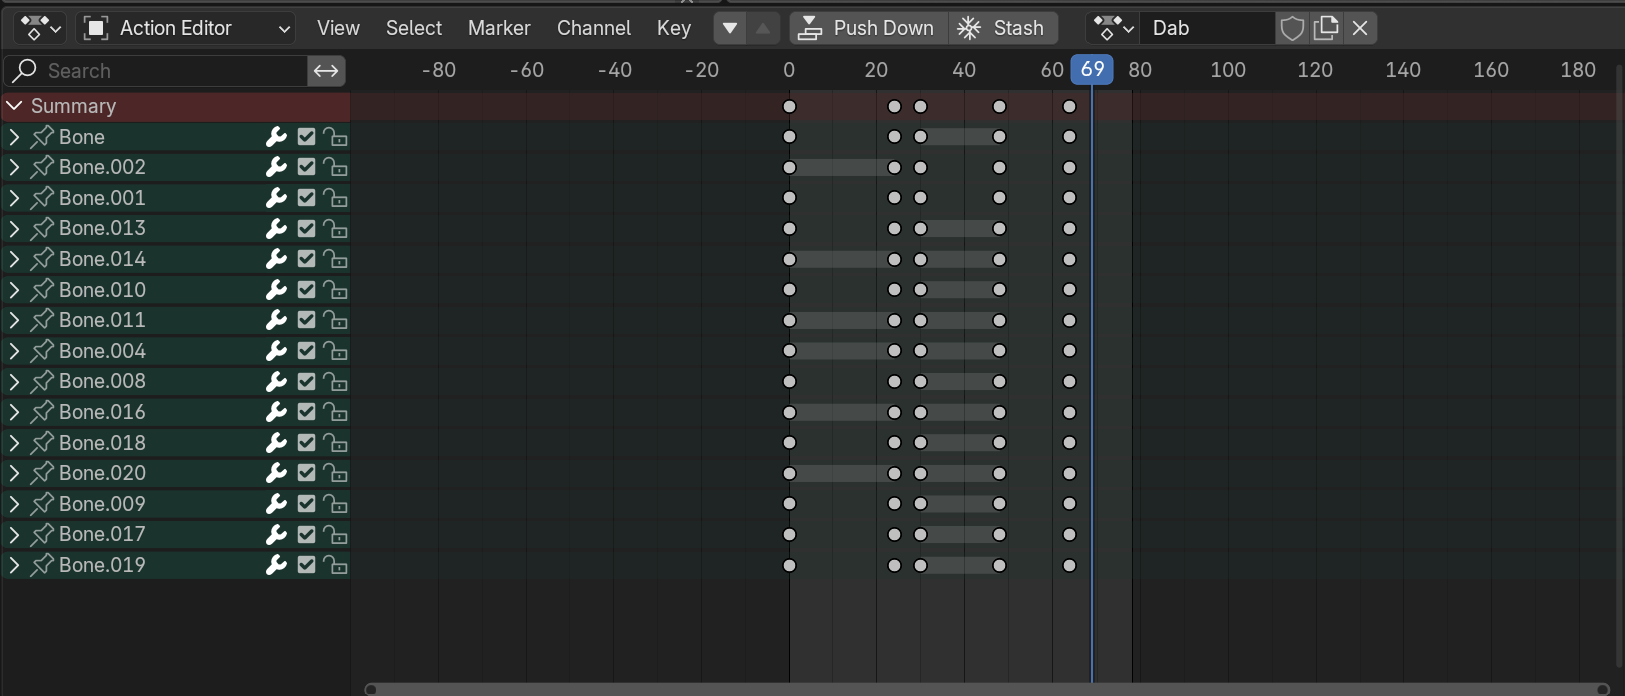
Fig. 6 - Keyframes for a completed animation
The End Result
And after repeating the above for every animation, we're now able to make our man do whatever we want him to do. Here are some examples:
Fig. 7 - Walk Like a Man...
Fig. 8 - Hello, Friend!
Fig. 9 - I'm so sorry...
Back to Unity
And with that, I reckon this is a good place to leave off for now. Tune in next time to watch me continue floundering about try to import these animations in Unity!
Leave a comment
Log in with itch.io to leave a comment.